Getting Ready for Paddle Touring - Some Practical Tips

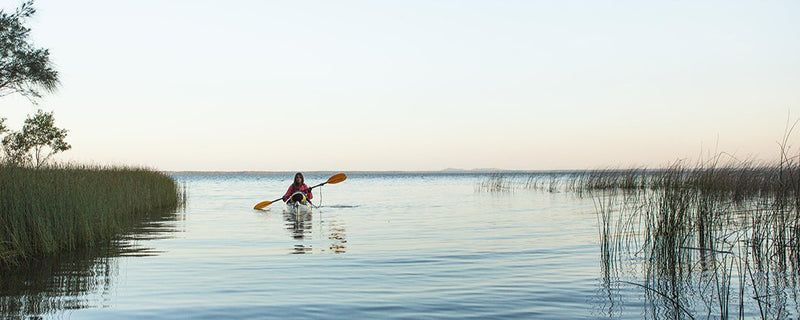
Here in the Northern Hemisphere, the weather is warming and the days are growing longer. If you’re a paddler, you may well find yourself dreaming of touring in your canoe or sea kayak or even on your SUP. The Ask Baz team checked in with our colleague Emilie – a passionate paddler with years of experience in the outdoor industry - to get some suggestions for gear preparation. Here’s how to make that next tour the best ever...
Checking your gear
Assuming your watercraft and paddle(s) are in good repair, Emilie suggests beginning by checking your dry bags, tie-downs and PFDs for signs of wear and tear. The two principle things you are looking for are:
- UV Damage. Paddling is hard on gear, with near-constant water and sun exposure. Double-check your tie downs for fraying or sun-bleaching – this can be a sign that UV exposure has compromised the strength of the webbing. The failure of a tie down can mean losing a boat from a car roof rack, or portage bags from inside a canoe, both of which can have serious consequences.

-
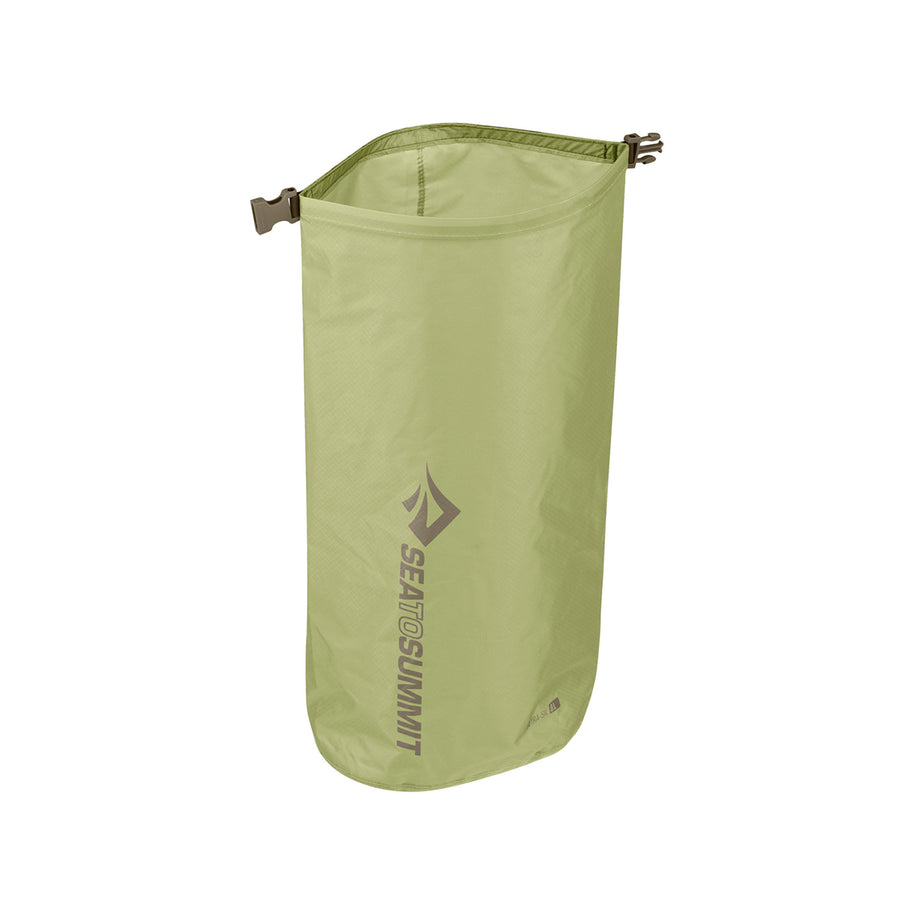
Physical damage to dry bags. Hopefully, your dry sack/portage bags were put away clean and dry at the end of last season. If you discover signs of mold or mildew when you unpack them, read up on ways to mitigate this problem here. Check to ensure that your dry bags/dry sacks are still waterproof by filling them with water. In the case of larger dry sacks, partially fill them and tilt the sack until all inner surfaces have been exposed to water. Examine the outer surface of the dry sack during this process to see if water leaks out. If it does, you may be able to repair them.
When it comes to UV-damaged tie-downs, ask yourself what you have to lose. If the answer is "a boat off the roof of my car", it's time to replace the straps.
To help avoid the effects of UV exposure, try using 303 Marine Aerospace Protectant – immerse your PFDs and tie downs in a solution of 303 and water or use the spray bottle to coat your gear and allow to dry.
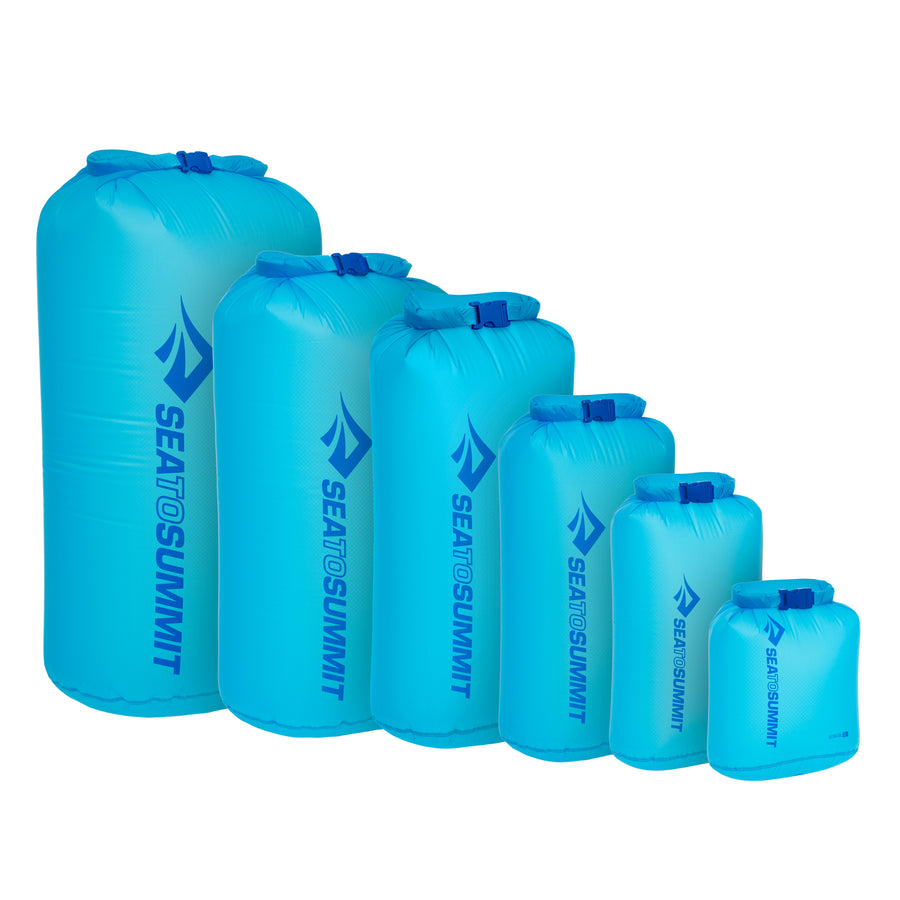
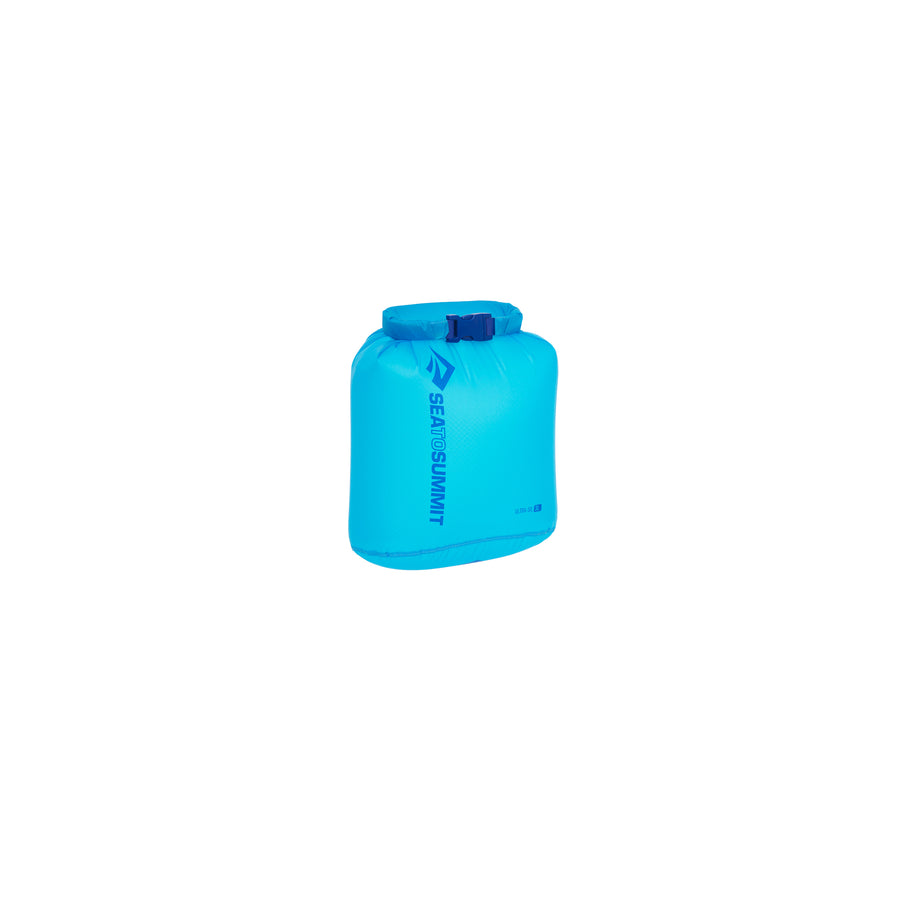
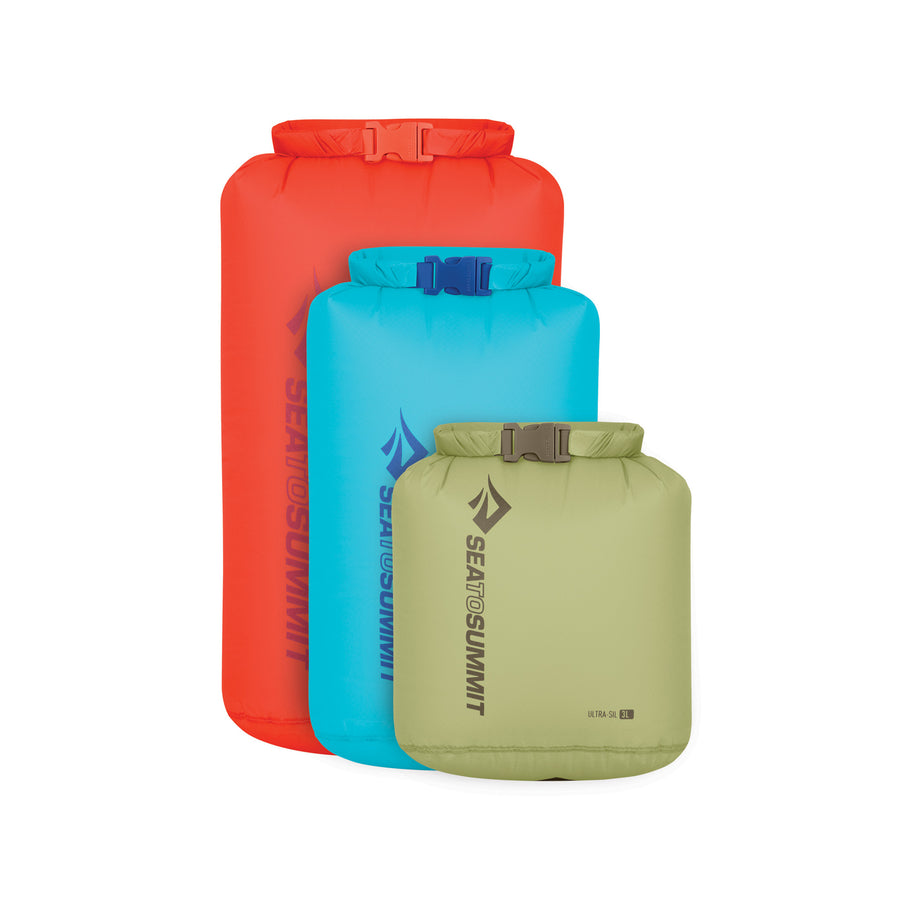
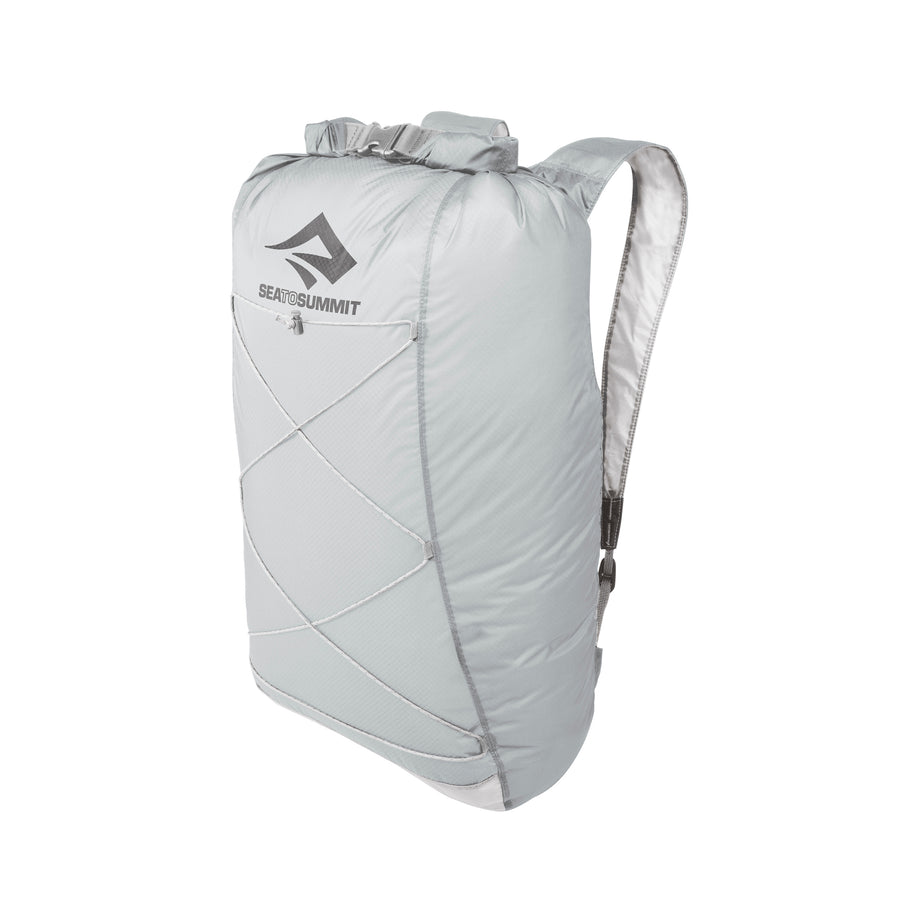
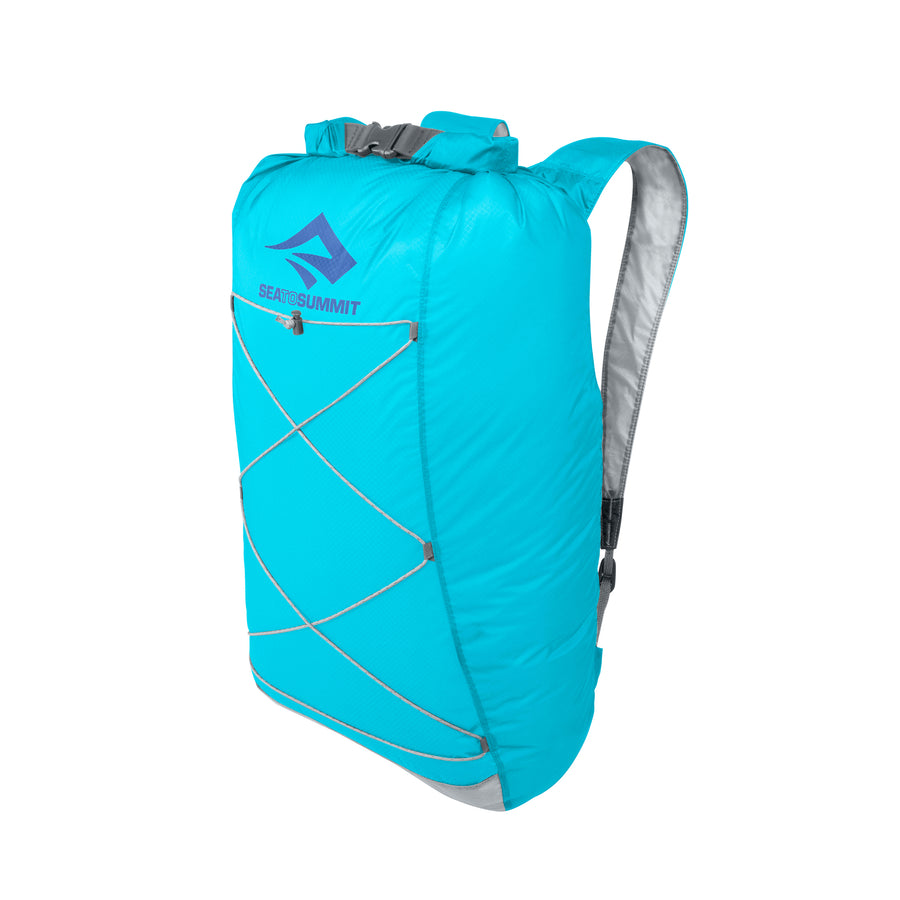
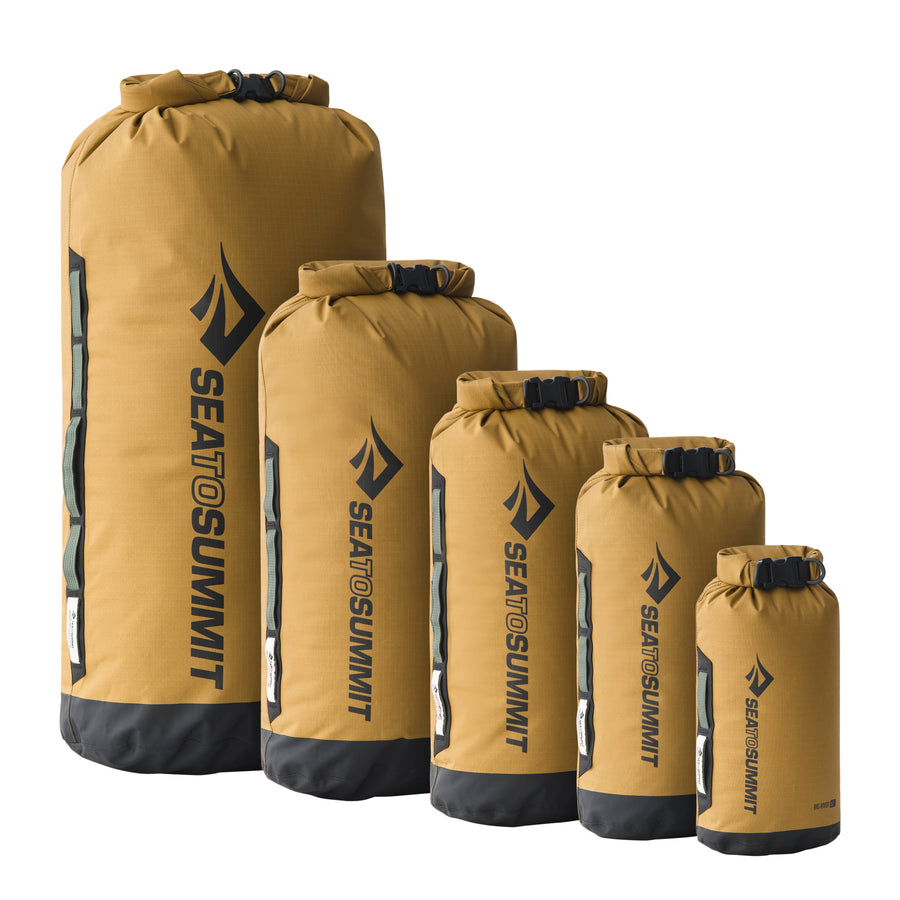
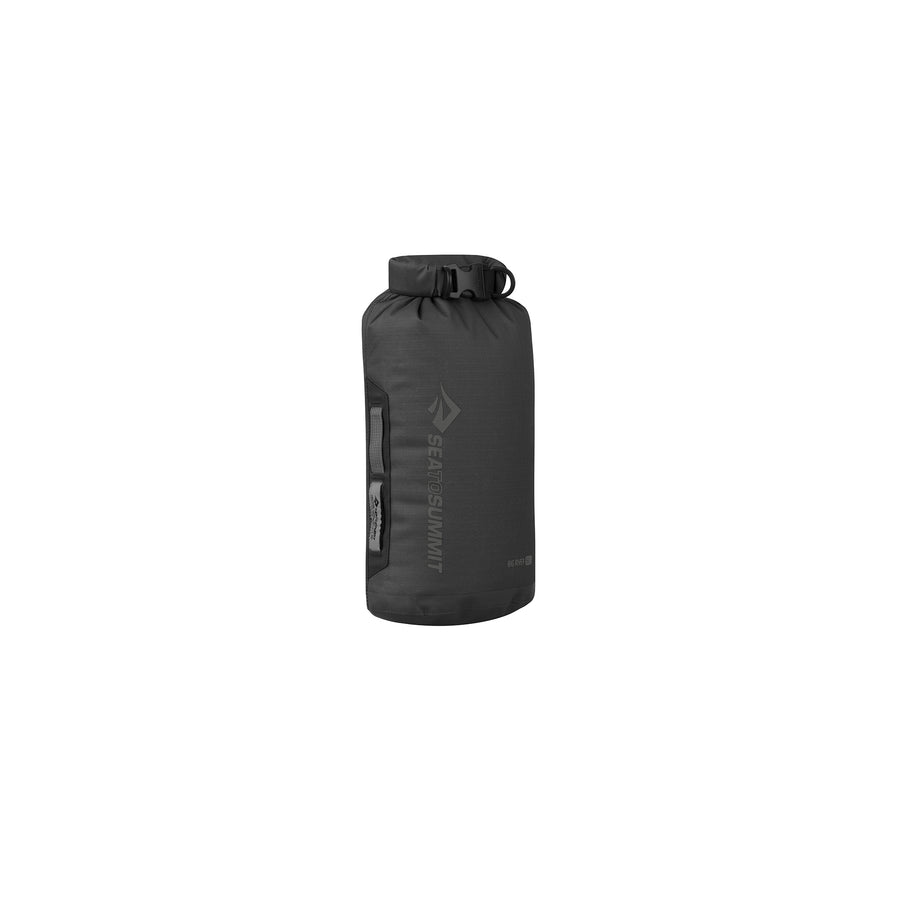
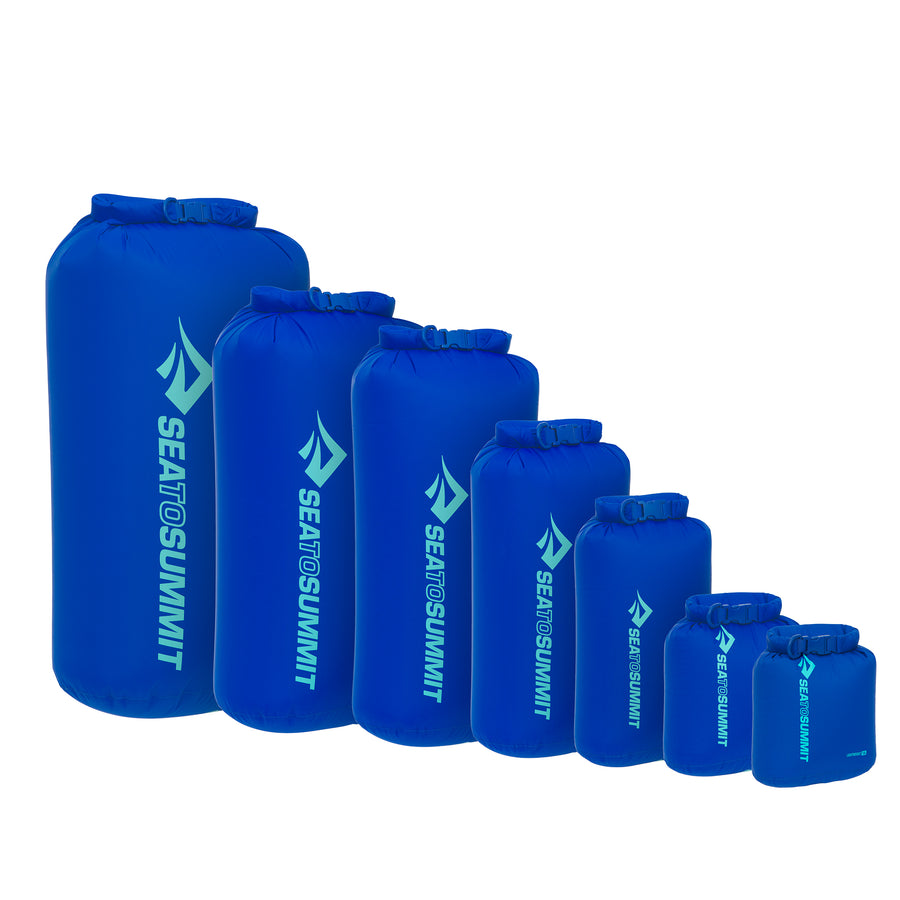
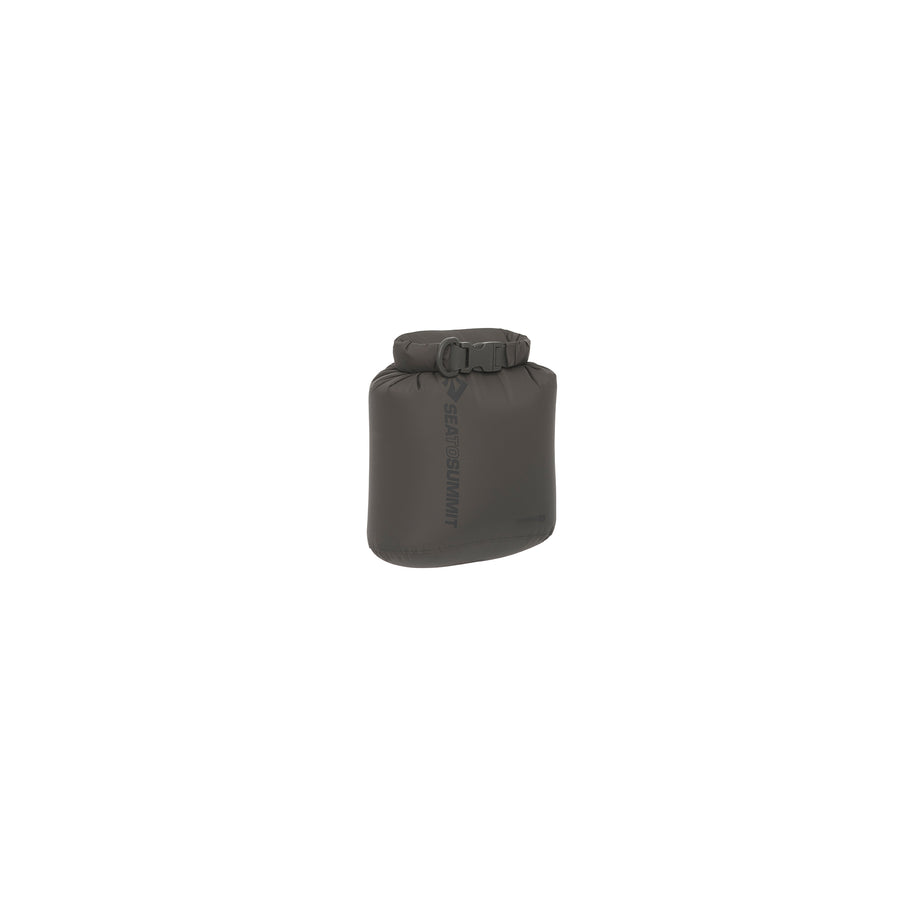
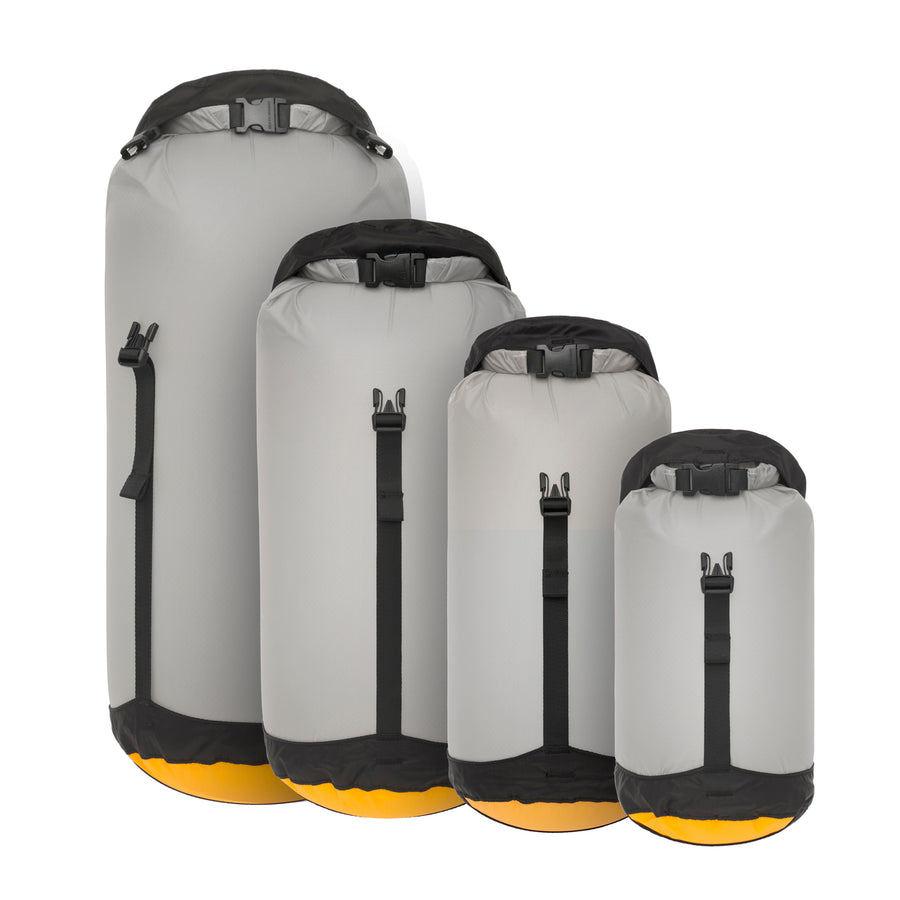
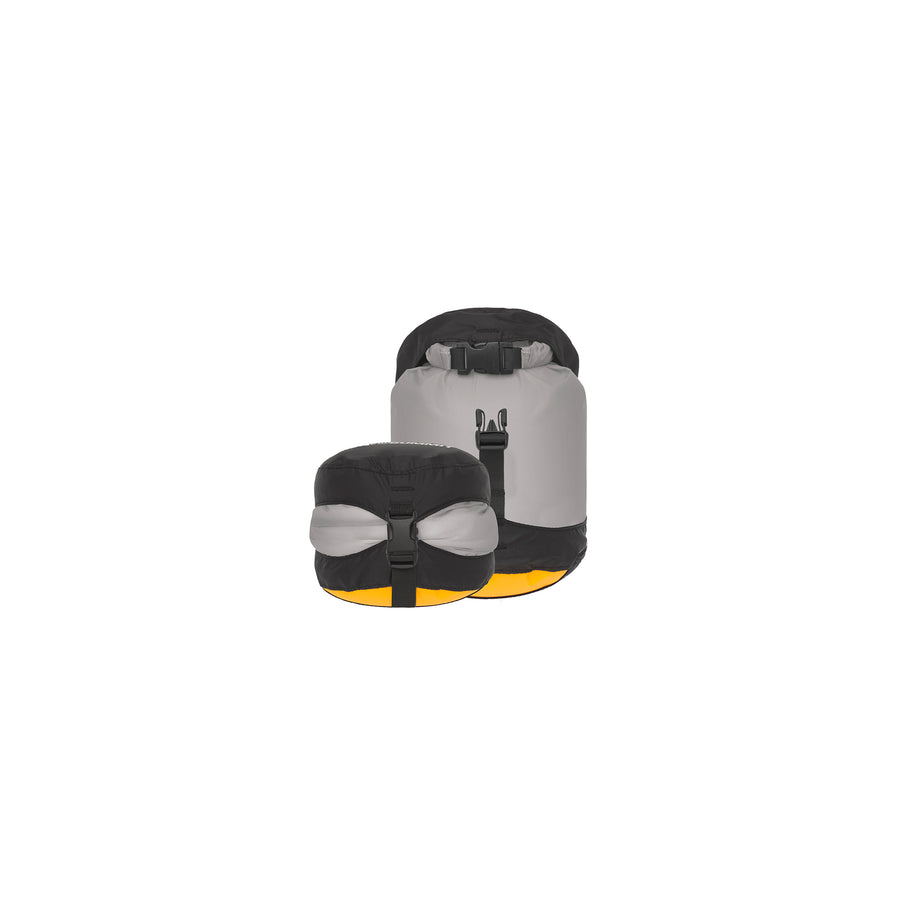
If your dry bags need replacing, or if you simply need more of them (and Emilie maintains that you can never have enough dry bags) make sure that the dry bags/dry sacks you choose are rugged enough for boating use. We would recommend Lightweight Dry Sacks for general use, Big River Dry Bags or Stopper Dry Bags for higher abrasion-risk environments and Hydraulic Dry Packs as your portage sacks. If you are touring in a sea kayak, you will want all of your compressible items packed in eVent Compression Dry Sacks. You can read about the full range of Sea to Summit Dry Sacks (and which ones will work best for your particular usage) here.
Remember to pick dry sacks in multiple colors to make sorting your gear that much easier – this is particularly true if you are touring with a large group.

Packing your gear
Once you have the dry bags you need, packing for a tour is essentially like packing for a backpacking trip: modular packing is the way to go. A sea kayak requires you to be more conscious of the overall quantity of gear and its compressed size, because space in the hatches is fairly limited. Canoes, on the other hand, have massive load carrying capacity – just be aware that if you have to portage (ie carry your boat and your gear overland) that you will be substituting muscle power for buoyancy in moving gear from point A to point B.
A canoe gives you the luxury of being able to pack a (soft-sided) cooler, which gives you the ability to keep things at least somewhat chilled for a couple of days. In a sea kayak or on an SUP, this is unfortunately not possible, so you will not be able to take perishable foods. For these more constricted watercraft, packing your rations into daily Ziploc bags is probably the most efficient way to transport food.
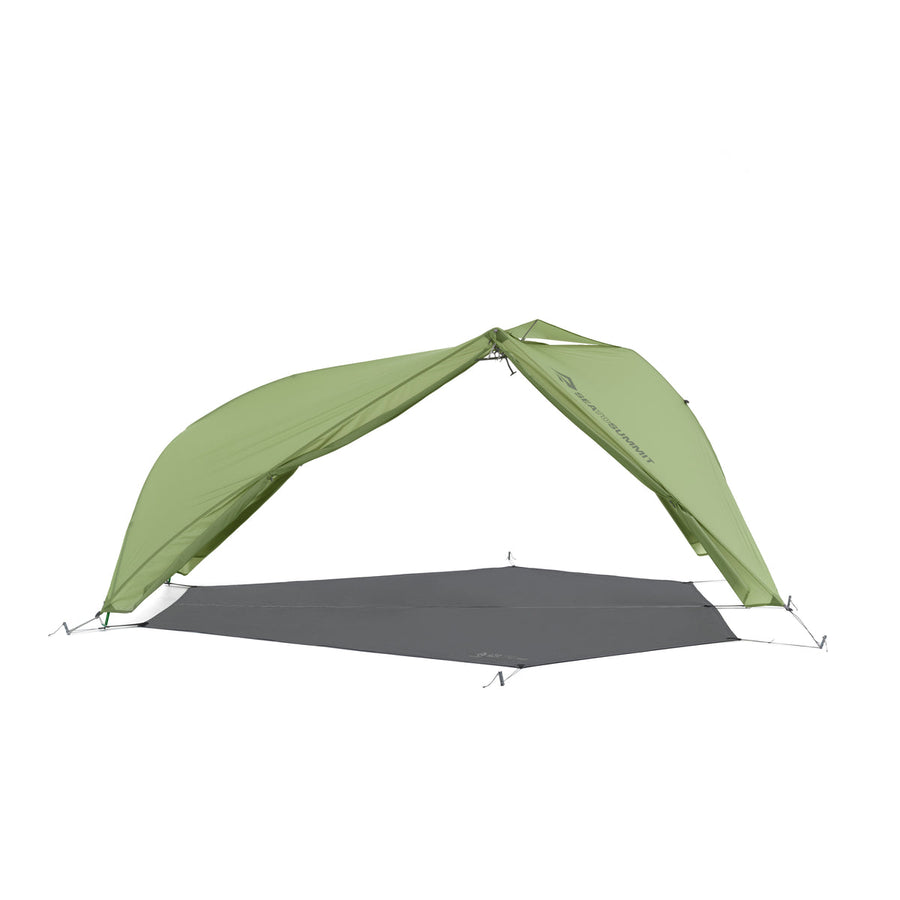
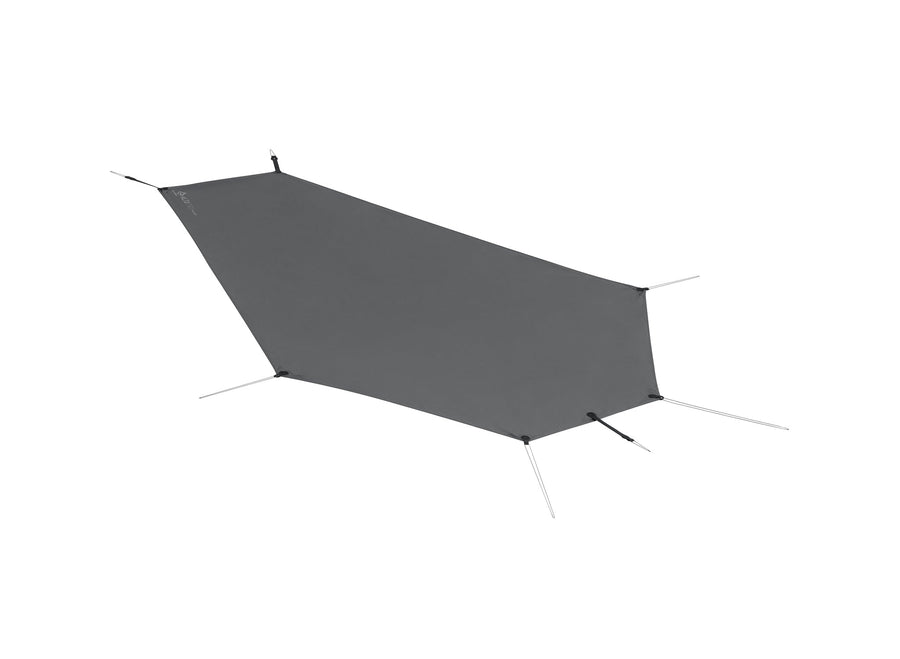
A canoe provides one other luxury: it forms a useful element in creating a group shelter for the evenings. Turn your canoe on its side and pitch a tarp with the longer side stretched taut along the hull. The apex of the tarp can be pitched over two paddles. The hull of the canoe gives you extra height and some weather protection along that rear side, and the tarp provides enough space for several paddlers to cook, eat, drink and socialize in the evenings. The tarp you would use would be fairly inexpensive/low-tech - there is no need to go to the exotic lightweight materials of the Escapist Tarp.
Other gear items fall under the following categories:
Transportation
Traveller Soft Racks or Pack Racks - excellent options for any paddler who does not have a rack-compatible car, or a low-cost alternative to a full metal rack system.

Whichever type of rack system you use, make sure that (in addition to securing the boat to the rack itself with adequately strong tie down), you run a line from the bow of the boat to the towing loop or front bumper of the vehicle to prevent the hull from lifting at higher speeds. You may also care to run a line from the stern to the rear.
Kayak Cart / Canoe Cart – for shorter portages, you may well be able to carry your boat and its contents (a canoe can be balanced on your shoulders and carried using the yoke). For longer overland distances, a Cart is well worth considering. Sea to Summit Carts are sturdy and easy to use; their alloy frames fold flat and the wheels slide off to allow the cart to be stowed. For touring canoes, choose the Medium Canoe Cart, for sea kayaks, go with the Small Kayak Cart.
Camp Kitchen/Bath
X-Pots, X-Pan, X-Bowls and X-Mugs or Alpha Pots and Tableware – With a set of collapsible X-Cookware and Tableware or nesting Alpha Pots and Tableware, the only limit to creating amazing meals is your own imagination. To get the creative process going, check out this post for some food preparation tips. Make sure to include an X-Brew pour-over coffee filter for your morning beverage of choice. 
There are many types of stove to choose from; the first choice being liquid fuel (usually white gas) or propane/butane. If you select a white gas stove, make sure to store the fuel separately from your food and other outdoor gear in case the fuel should leak. If you choose a propane/butane stove, consider making a ‘koozie’ (a foam wrap) to keep the canister warm on chilly mornings – at temperatures below 40°F / 5°C the gas remains as a liquid in the canister resulting in lower pressure and performance. Standing the canister stove in a pot of warm water also works to mitigate this. Do not use a pot which blocks off air to the burner – the stove and canister can heat up with possibly serious results. ‘Personal Cooking Systems’ (stoves with attached pots) are not particularly useful for anything beyond boiling water. If you have one of these, make sure you purchase the pot adaptor before using the stove with a normal pot or pan, otherwise damage to both may result.
Watercell ST - your streamlined reservoir water bag storage solution for lightweight adventures. Minimalist, strong and pliable, the Watercell ST’s compact 3D shape and internal baffle design makes it manageable and easy to fill, stow, stack and drain.
Folding Bucket – the type to choose is the 210 Nylon version rather than the ultralight Ultra-Sil model. A Folding Bucket is useful for scooping up water to carry it back to the campsite for filtration. Remember to practice Leave No Trace principles by using water for washing 300 feet/100 meters from a water source.
Sea to Summit doesn’t make one, but you will need a water filter for filtering drinking water. Select a model which can provide adequate amounts of water for your group size (flow rates and filtering speeds vary), and make sure you are familiar with the procedure for back-flushing and cleaning the filter.
Kitchen Sink – For washing dishes after all the gourmet meal preparation, or for personal hygiene, it’s great to have a Kitchen Sink and some Wilderness Wash in your kit. For smaller groups (2-3 people), the 5 Liter Sink will work, for larger groups (3-6 people) you will need the 10 Liter size.
Clothesline – Paddling means wet clothes, damp towels and possibly soggy items of outdoor gear. This is where one of the smallest and least expensive Sea to Summit products comes into its own – the Clothesline. Sure, you can just string up a line between two trees, but small items draped over a line will fall off whenever a breeze comes up. The twin cords of the Clothesline have small rubber beads which allow you to trap items between the cords securely. One of our staff who took a Clothesline on a Grand Canyon paddle trip described it as “pretty darned useful” which, given her tendency to understate things, should be read as “absolutely essential”.
Pocket Trowel/Outhouse/Hand Sanitizer – some people are a little skittish when it comes to talking about pooping in the woods. That’s fine; providing they know how to do it properly: use a Pocket Trowel to dig a ‘cathole’ twice as deep as the extended trowel, and make sure that this is situated 300 feet / 100 meters from the closest water source. Carrying your toilet paper in an Outhouse will not only keep it dry, it also works as a signal that one of the group is leaving the campsite and would like some privacy. Pack the Pocket Trowel and a bottle of Trek & Travel Hand Sanitizer inside the Outhouse to keep everyone safe and healthy.
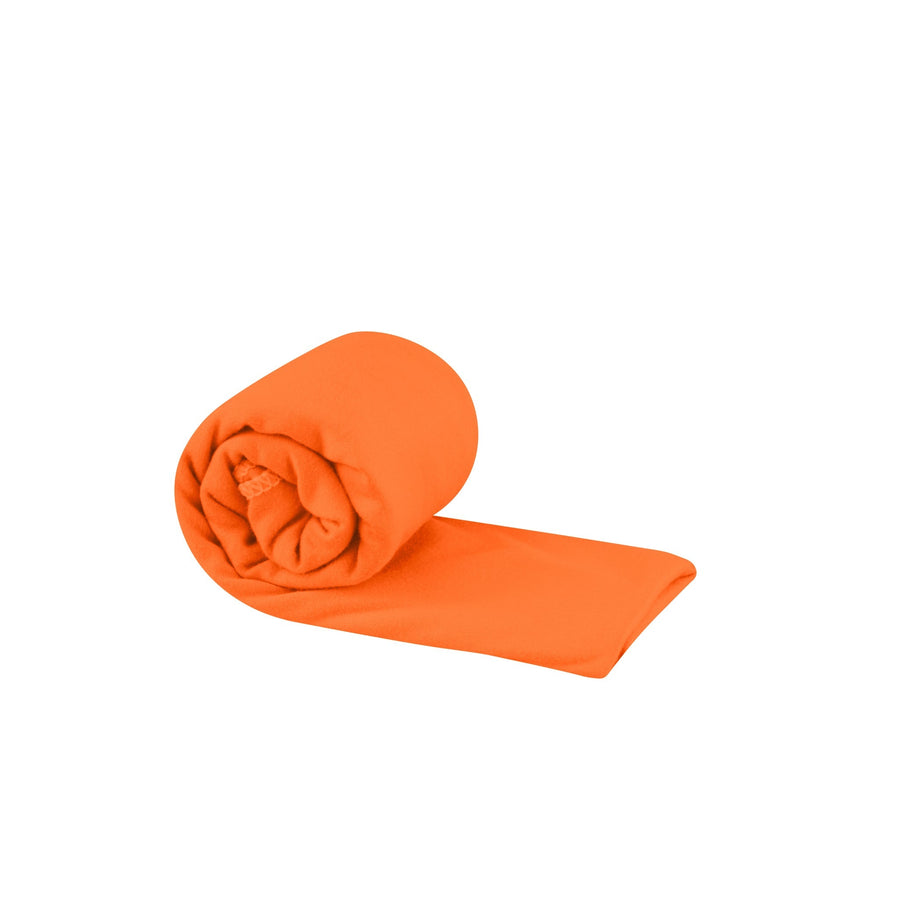
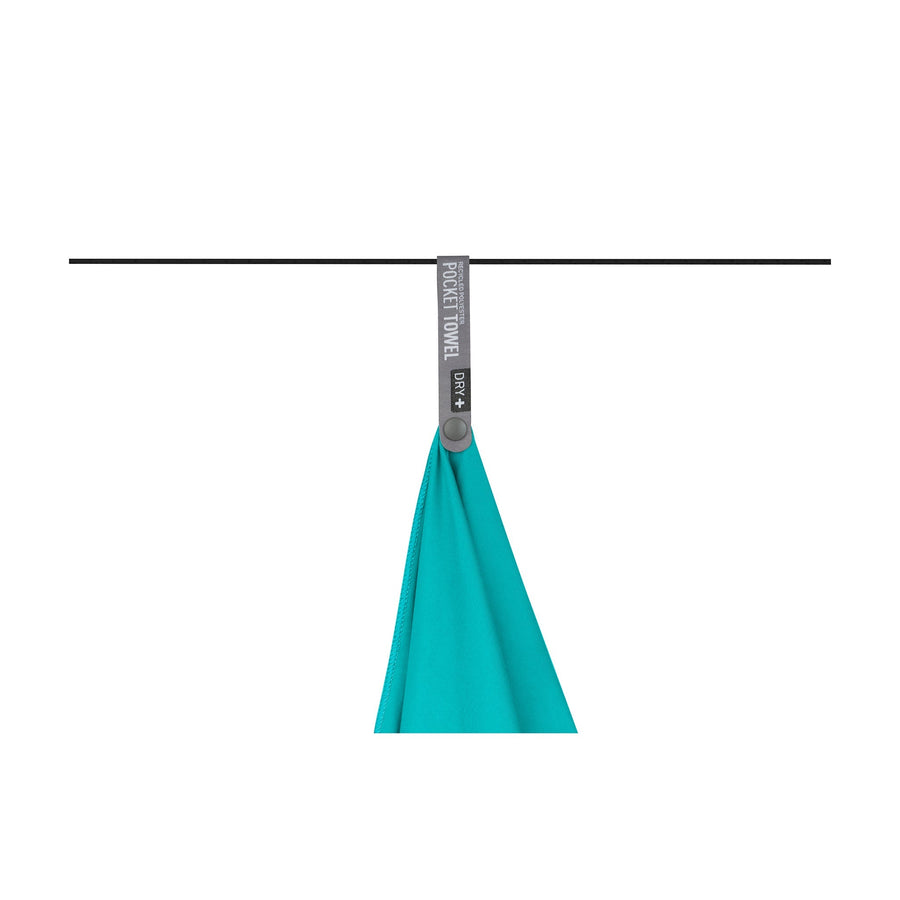
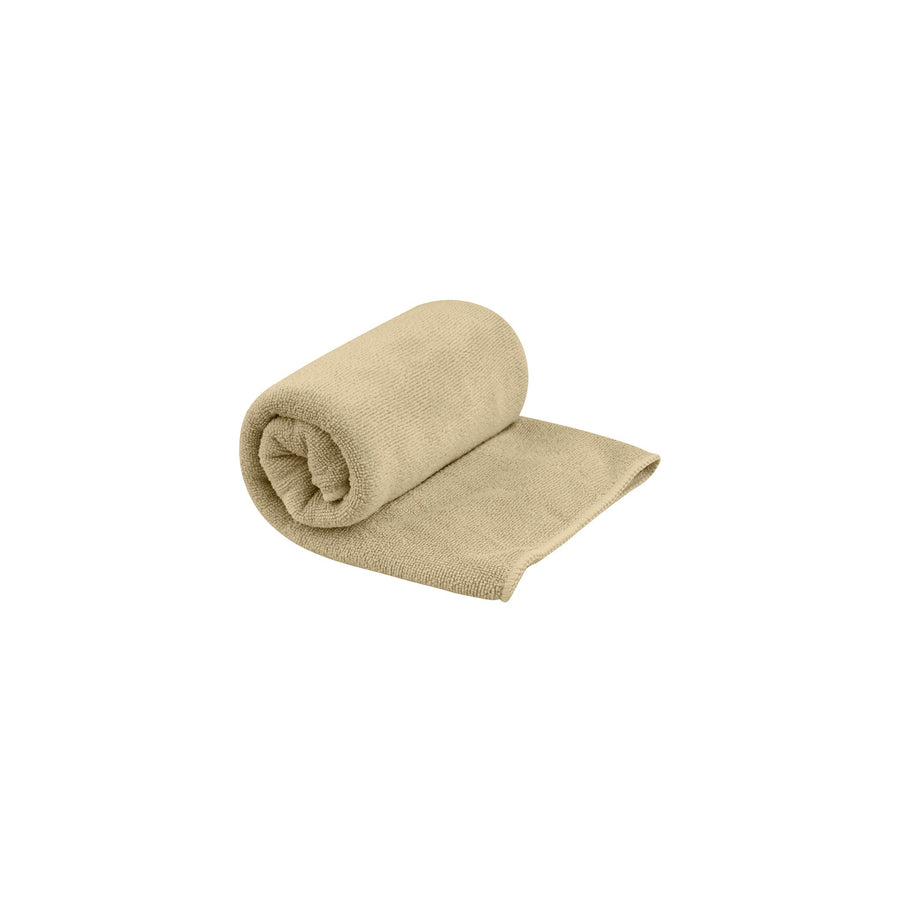
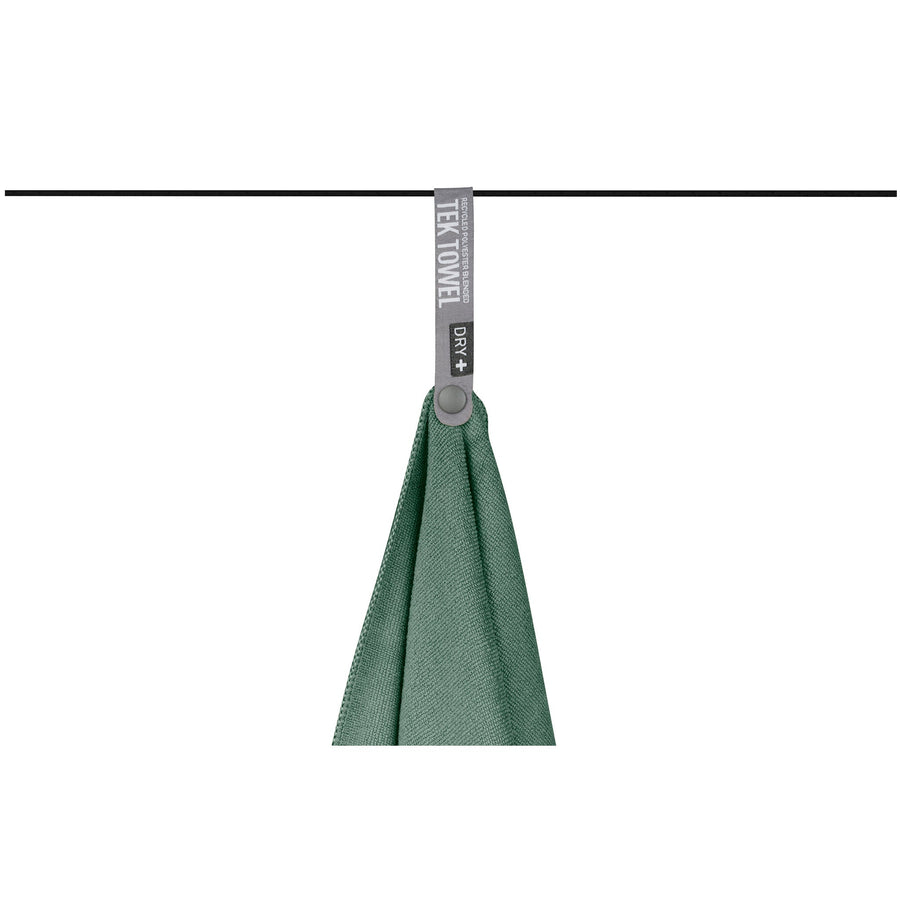
Pocket Shower/Wilderness Wipes/Tek Towels – For extended tours of more than three days, it’s really nice to be able to get a hot shower. Fill the shower with warm water (boiling water would damage it) and hang it from a convenient tree somewhere away from your campsite. Use a biodegradable soap (such as Wilderness Wash), and enjoy a 7-8 minute shower. If clean water is too scarce for washing or showering, Wilderness Wipes are a great way to stay fresh. Take along Tek Towels for drying off – they are soft and absorbent, and dry quickly.

Other essentials
Mosquito Head Net - Bugs exist in direct proportion to the desirability of any given stretch of water the nicer the lake or river, the more mosquitoes there will be. Your Sea to Summit head net might just end up being your favorite piece of gear under these circumstances.
Map Cases – maps can easily become soaked and useless in the wet environments of a paddle tour. Pack your maps into a Map Case and attach it (using the supplied lanyard) to the thwarts or yoke of a canoe or the decking of a sea kayak for an easily visible method of navigation.
Bilge Pump – If you will encounter white water on your canoe tour, or if you will be paddling on open water on your sea kayak tour, you should have a Bilge Pump. Sea to Summit’s pump is made of rugged ABS plastic with a large diameter anodized aluminum shaft with a ‘D’ handle. Secure the pump to your boat using Accessory Straps (ideally, the Hook Release kind), threaded through the handle. When you need the pump, it is easy to see (it has a full-length flotation collar which is colored orange), and it will pump 14 oz/400 ml of water with the upward and downward strokes.
After the tour
Emilie’s final tip is directed at what to do after a canoe or kayak tour (which, according to Emile, is merely the first step in preparing for your next trip).
When you get home from a trip - any trip - rinse your gear! Removing salts and dirt (particularly fine-grain sand) from fabrics will increase their lifespan. The sand in particular wears away at coatings, so it is essential to turn your dry bags/dry sacks inside out and hose them off. Lubricate zippers and the wheels of your Cart with food-grade silicone spray (not solvent-based silicone lubricant) before storage. Besides helping increase the longevity of your favorite PFD or dry bag, rinsing your gear and the hull of your boat helps prevent the spread of invasive species between bodies of water.
Make sure that your equipment is completely dry before storing it – so it will be ready for the next tour.

Have fun and be safe,
B

