What to Pack for Winter Backpacking – Part 2

Here’s the second installment of tips and gear for a winter ski/snowshoe tour (you can find part one here)
4. Cooking / Eating / Washing gear.
Stoves. Remember that canister gas stoves lose their efficiency in the cold (the gas remains in liquid form in the canister and pressure drops). Make a ‘coozie’ for your canister out of PU foam – keep the canister in your sleeping bag overnight and when you wake up, put a chemical heat pad in the coozie underneath the canister. Stand the stove on something to insulate it from the snow. Newer stove/pot canister systems have more efficient burners, pressure regulators, and heat-transfer technology – and thus don’t suffer from such a performance drop-off. They are expensive, but possibly well worth the investment.
Alternately, you could take a liquid fuel stove which delivers consistent performance even at lower temperatures. The one disadvantage of a gasoline stove is that cleaning out a blocked jet (or some other operation which requires ungloved fingers) is a real bear when it’s really cold. Some winter users, therefore, opt for an alcohol stove – fewer BTUs, but little to go wrong. The brand leader is a Swedish company, and the Swedes know a thing or two about camping in the cold. To light any of the above, you’ll need storm-proof matches or a flint/firestarter because butane lighters don’t work at these temperatures, either.
When you’re melting snow, remember that snow crystals can melt away from the base of the pot without creating enough liquid to cool the pot (especially a titanium pot) – you can warp expensive cookware this way. It’s better to start with a small amount of snow in the base of a pot which you can stir over low heat while it melts, and once you have enough liquid water, add more snow. X-Pots will save space in your pack (really important on winter trips) and have aluminum bases which are much better at conducting heat than titanium – which results in more even heat across the base of the pot. Alternatively, given the tendency in cold weather to make one-pot-all-ingredient meals, you may opt for an Alpha or Sigma Pot.
Otherwise, winter camping food is all about calories – you are burning more energy just keeping your metabolism working. The most calorie dense food is fat; add it wherever you can–peanut butter in your oatmeal, olive oil in your pasta.
An X-Bowl or XL-Bowl will save some space in your pack (helpful, given the amount of bulky gear you’ll have), but a Delta Light Insulated Mug is worth finding room for – it will keep hot beverages warmer longer.
The 5-liter Kitchen Sink and a 40ml bottle of Wilderness Wash should take care of dishwashing/washing needs.
5. Clothing
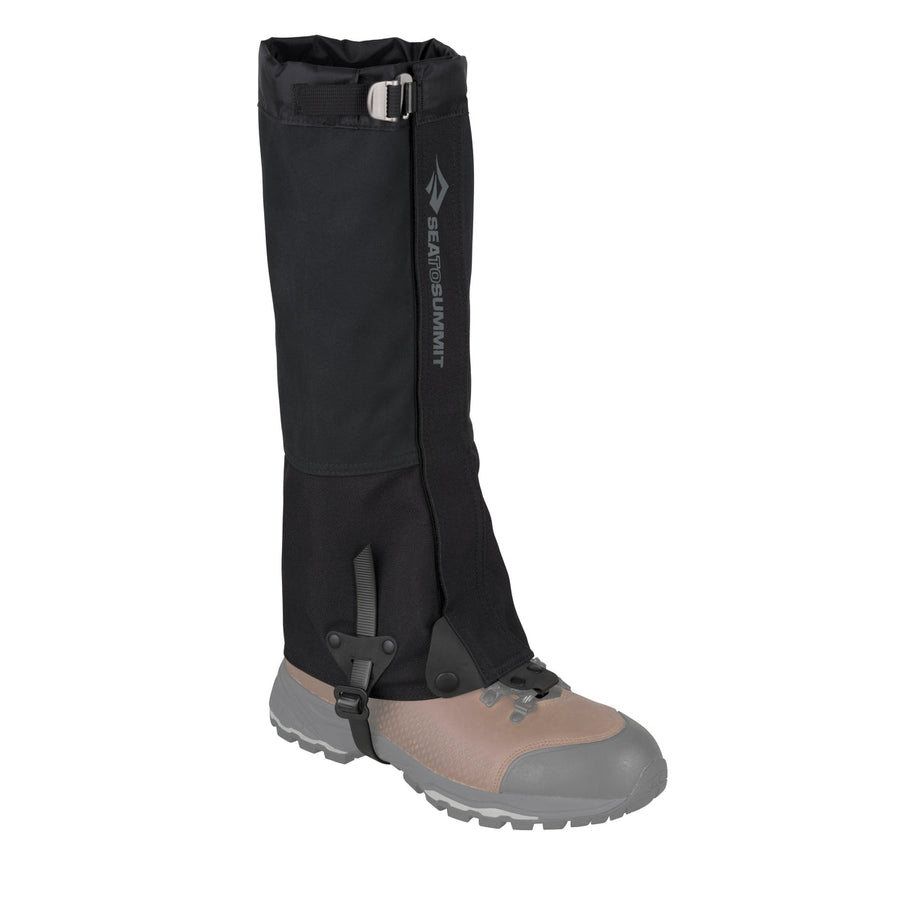
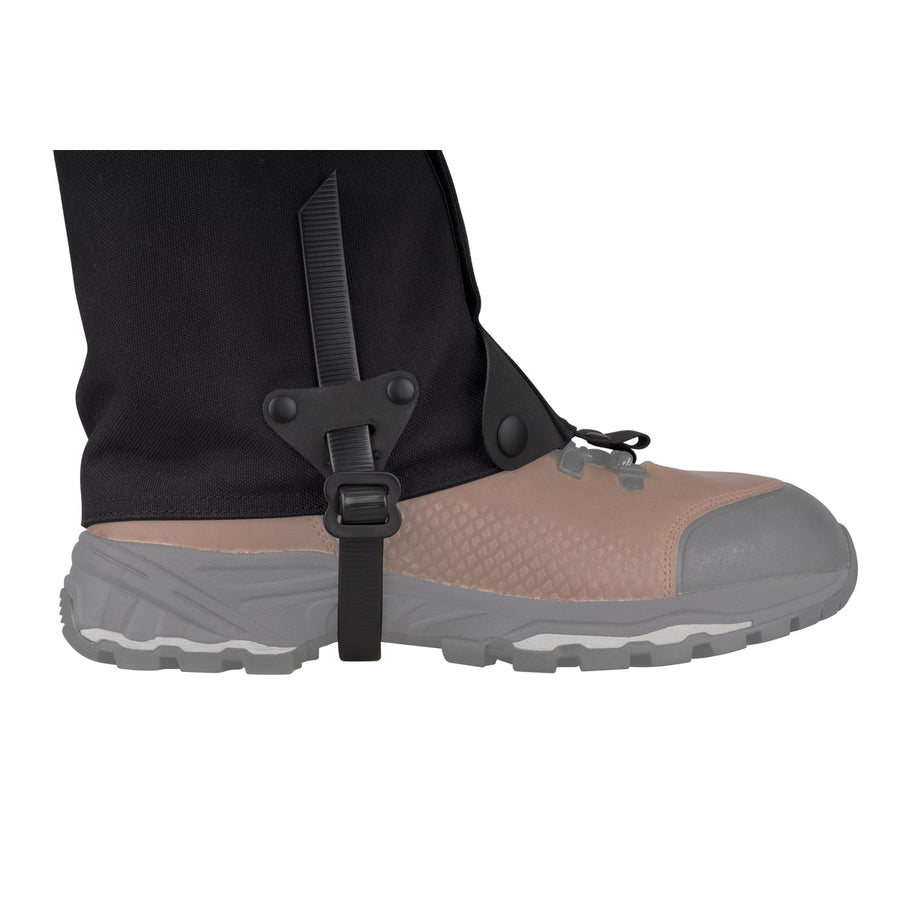
It’s really key to have a dry set of base layers to change into when you make camp: because you are carrying a heavy pack and possibly making your way up steep ascents, you will sweat during the day. As hard as it may be to strip off these layers in the cold, it’s essential to get dry underwear on before you get really chilled. You will need several warming layer tops, and down ‘sweaters’ offer a lot of insulation for very little weight. Soft-shell pants will probably be waterproof enough unless you face really wet snow (in which case you will need hard shell pants), and gaiters are a necessity.
Waterproof all of your soft or hard-shell clothing including gloves before setting out using a product such as Grangers Clothing Repel – remember, getting wet means getting (even) colder. When choosing a hard-shell jacket, some extra pockets often come in handy when you’re skiing for storing the extra odds and ends which winter touring demands (your sunglasses, warm hat, lip balm etc) – in particular, an inside pocket where you can keep a camera inside a Padded Pouch may mean the difference between the battery working and it giving up the ghost.
A good down jacket is a lifesaver – you’ll want to keep it close to the top of your pack so you can wear it when you stop for snack breaks during the day (you may not feel cold while you are skiing/snowshoeing, but you will when you are no longer moving). In addition to a warm hat, a balaclava is a fine thing to have if you have to ski/snowshoe into wind-driven snow (some fold down and become neck gaiters, which is also great in windy weather).
You will need two pairs of gloves: really warm gloves or mitts for evenings/mornings/bad weather episodes and lighter gloves which you can wear whenever you need manual dexterity (cooking, for instance) and possibly in warmer weather. There are some great ‘soft shell’ gloves on the market that work well for this.
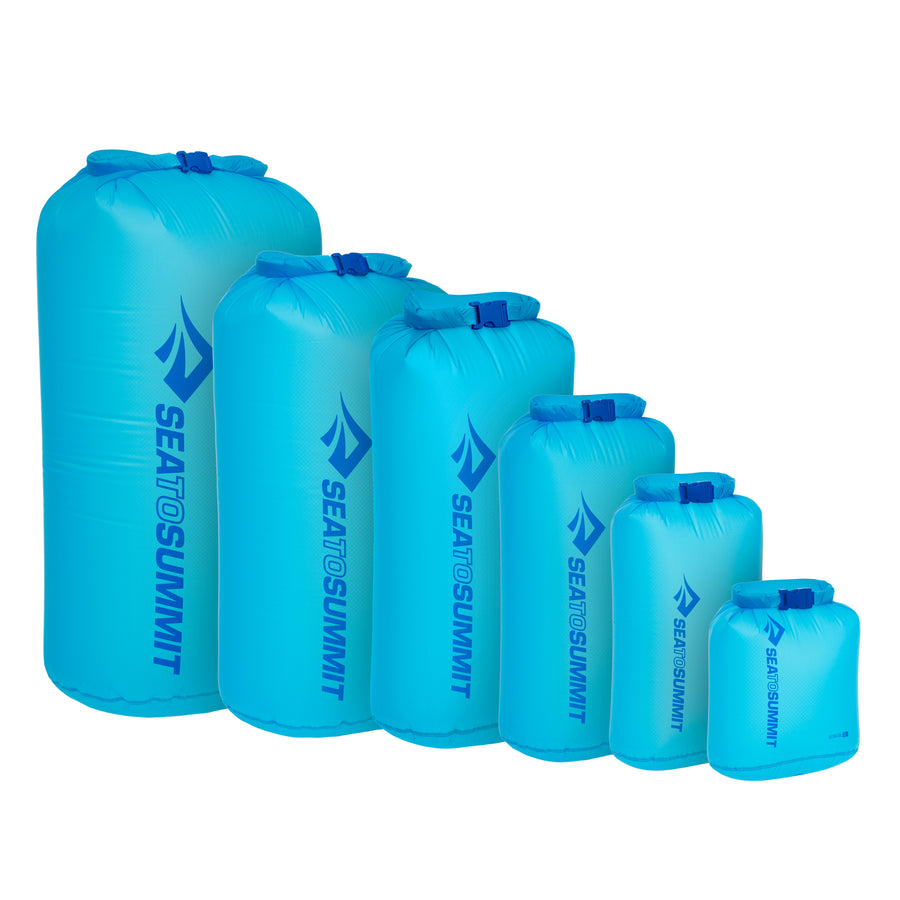
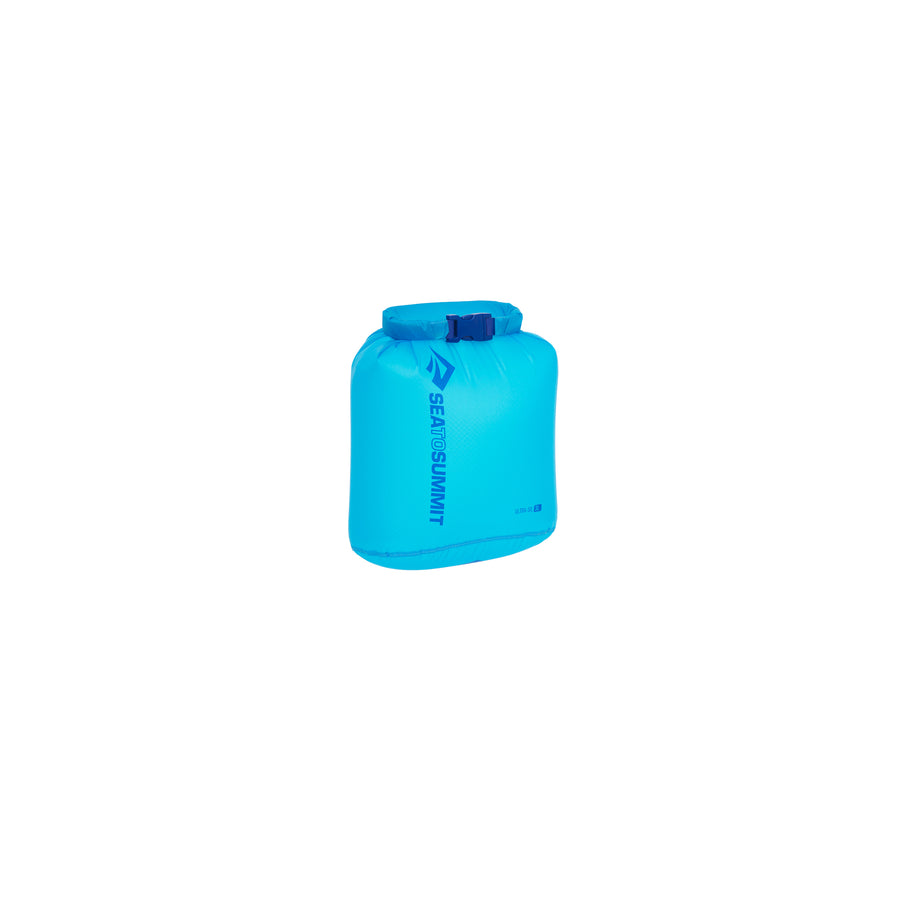
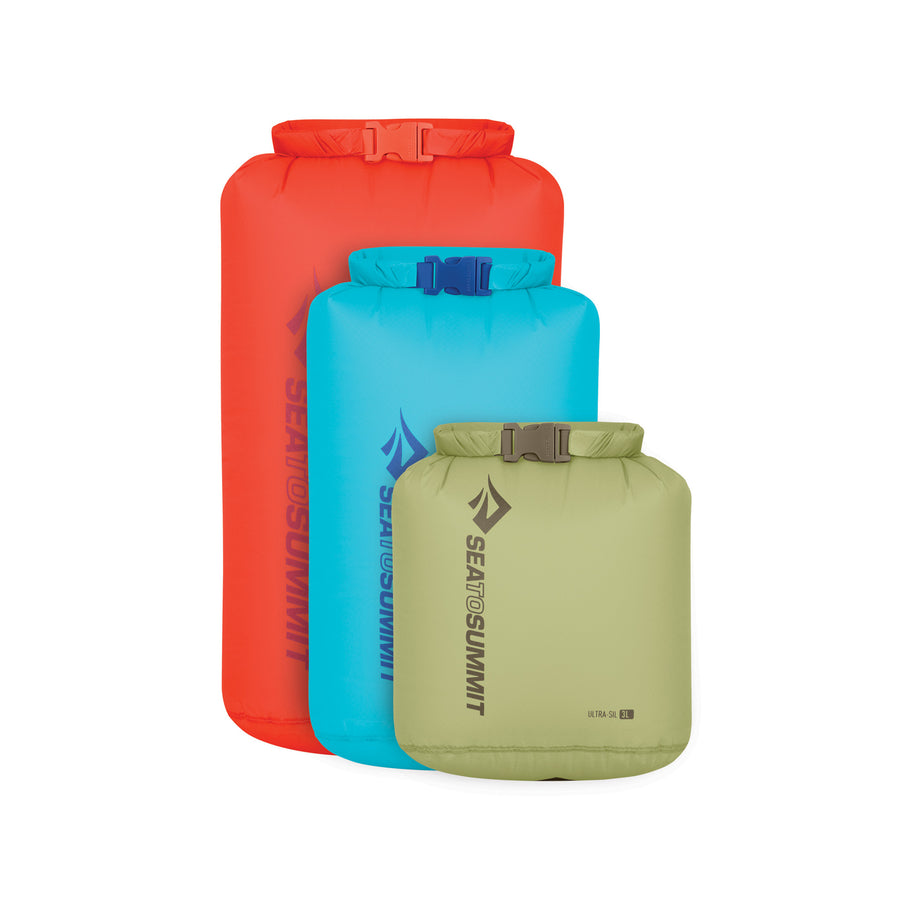
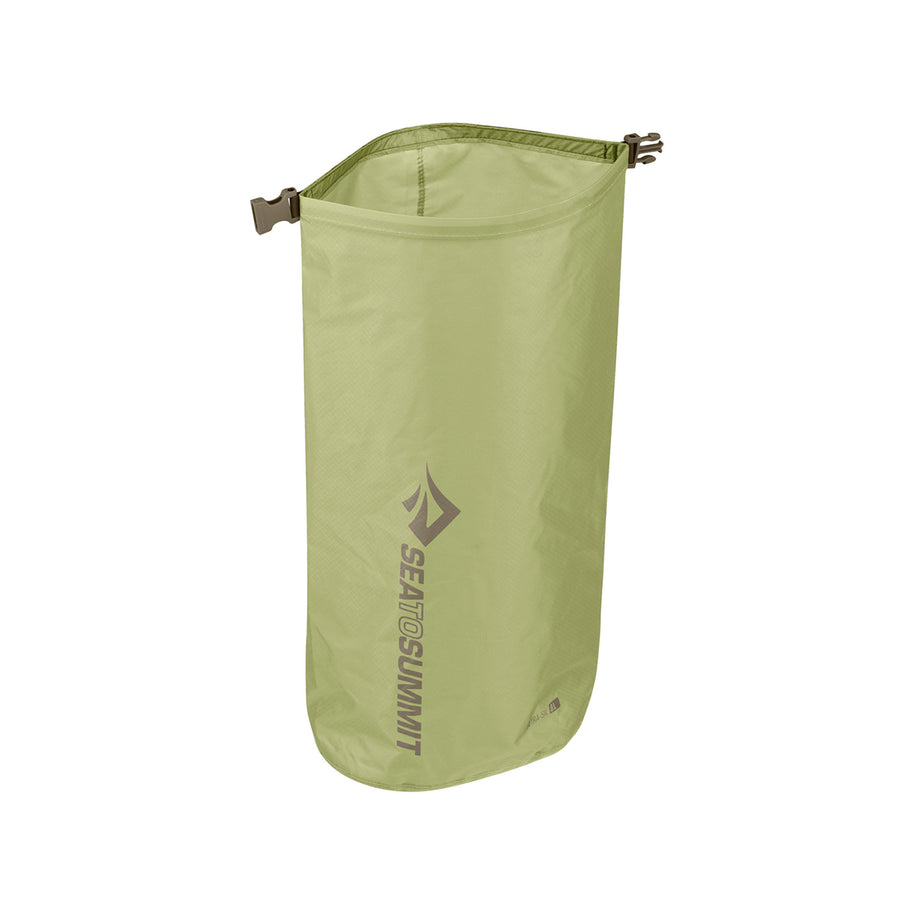
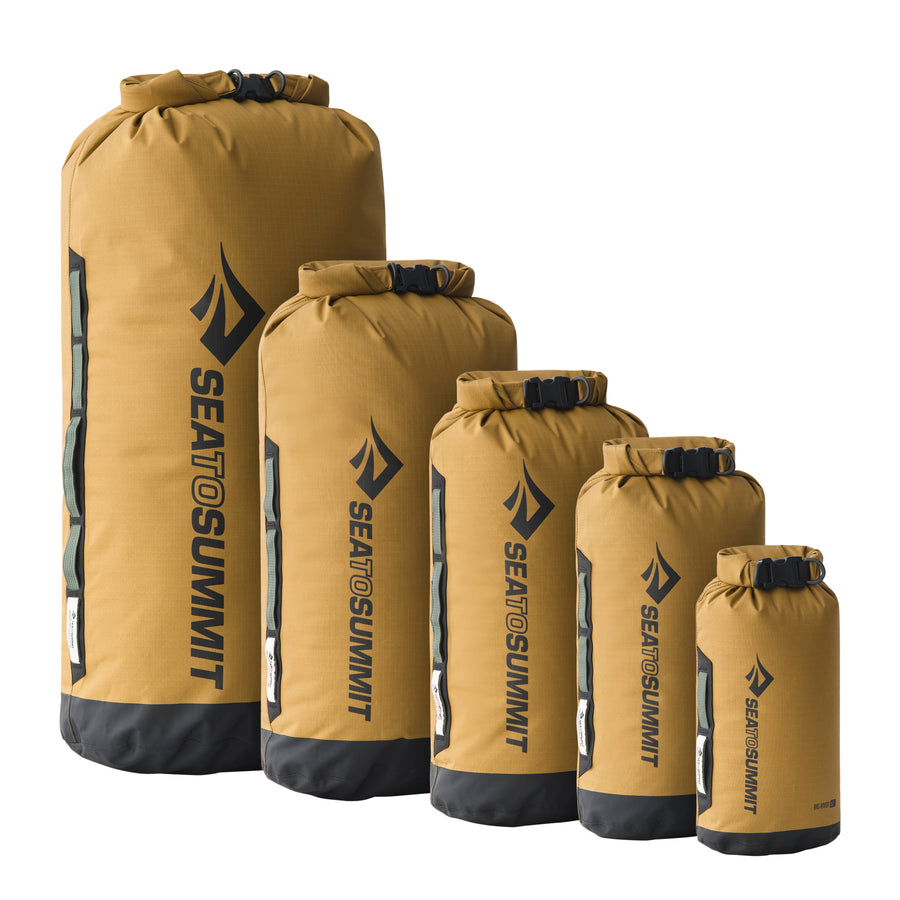
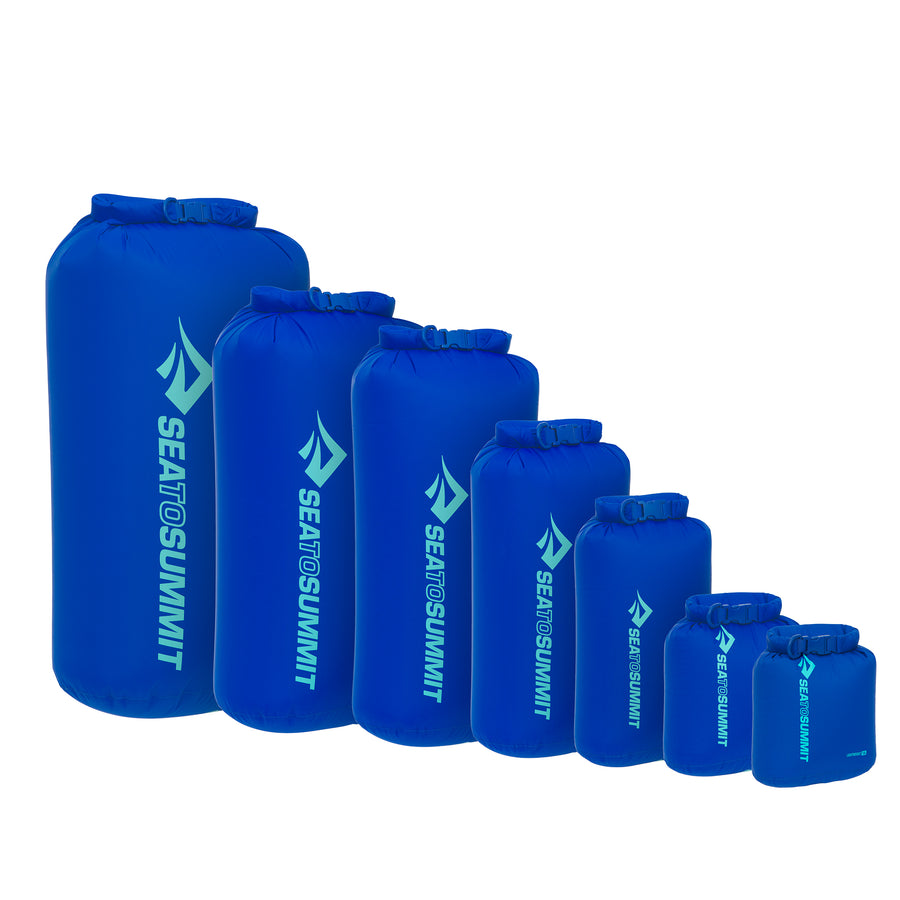
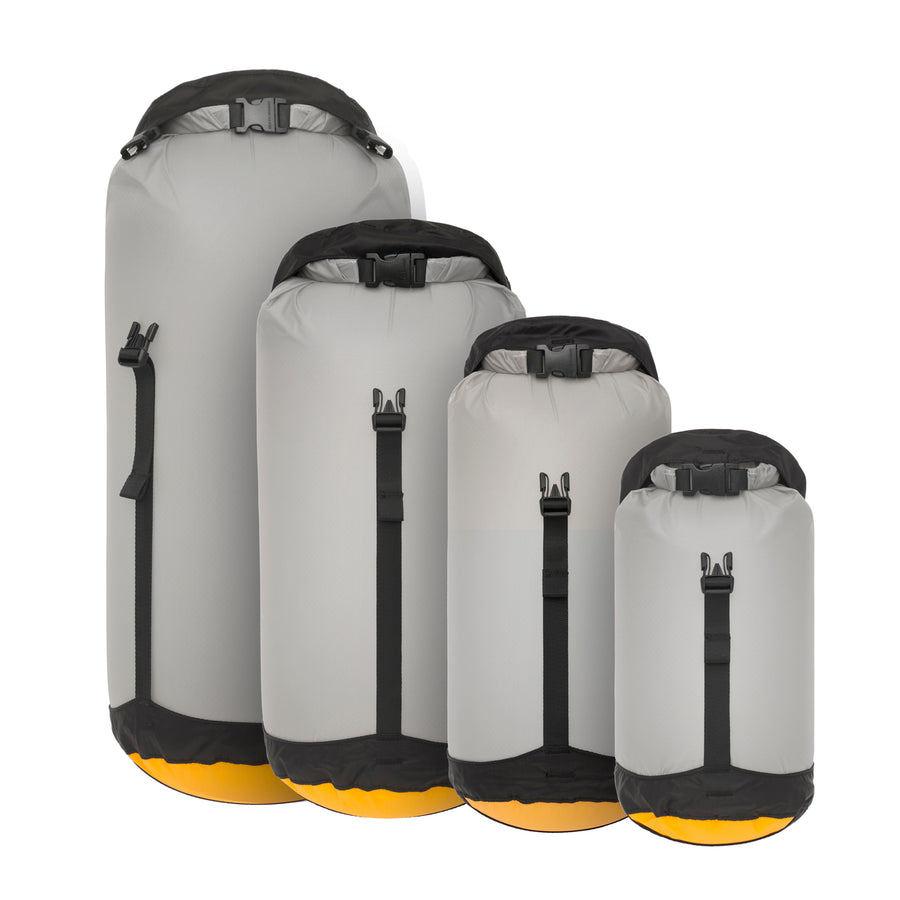
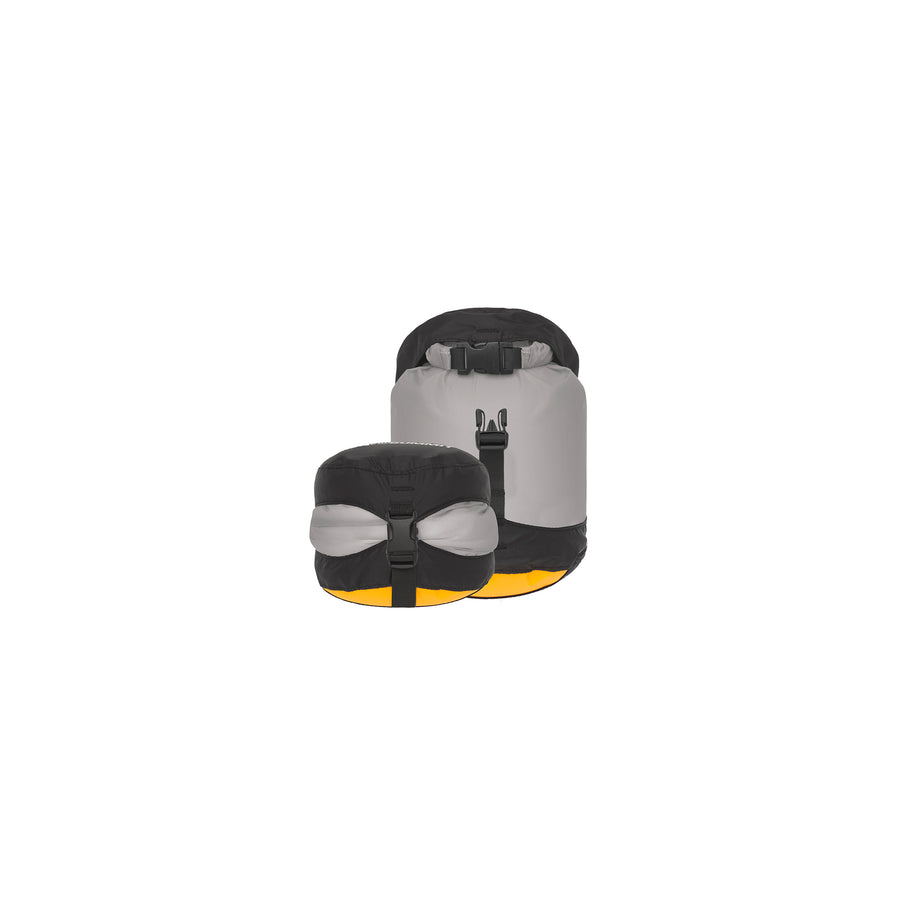
All of the clothing that you are not actually wearing should be packed in dry sacks. Not only will this keep them dry but will make it simple to pack and unpack your backpack (even if it’s snowing), and helps keep order (essential, given how much gear you will have). Choose between Ultra-Sil® Dry Sacks (very light and semi-translucent) and eVac Dry Sacks (a little heavier, but super convenient – excess air squeezes out as you slide them into your pack).
6. Snow gear / first aid / preparedness.
Each person in your party will need an avalanche beacon, an avalanche probe, and a snow shovel (which should be attached to the backpack with the blade facing down – a shovel blade is not something you would want to come into contact with your head/neck in a fall). While these can be rented, it’s also essential for you to have taken a course to learn how to use them and to be aware how to avoid avalanche terrain.
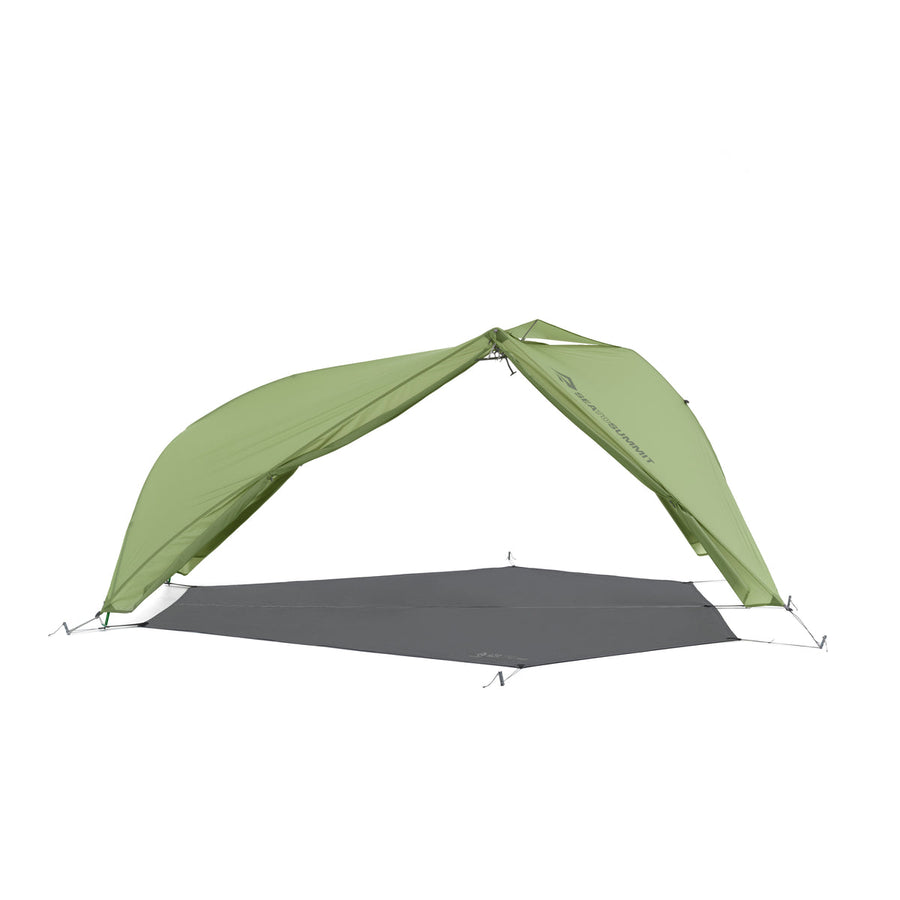
Your snow shovel and skis also allow you to flatten out snow so you can pitch your tent, and build a low wall around the tent to protect against the wind.
If you will be skiing, make sure each member of the party has a set of skins which are already trimmed for their skis (this is not something you want to be doing at the trailhead) and knows how to put them on/take them off while wearing the lighter-weight gloves they should have with them.
Take tools/hardware for repairing ski or snowshoe bindings, liquid glide wax for your skis, anti-stick wax/spray for your skins, and a spare basket or two for your poles.
Keep a few Accessory Straps in your pack – you can use them to attach things to packs if necessary, or if ski skins have become damaged/gone missing they can be wound around the skis to provide uphill traction.
Winding a length of duct tape around your poles will help fix things in an emergency, and makes you look like a real backcountry skier. Baz carries a first aid kit to clean and cover most small wounds, but most frequently ends up treating blisters (glacier gel bandages are great for this) for people whose boots didn’t fit perfectly.
All of the above should be in different colored Lightweight Dry Sacks – for organization and quick access.
7. Other gear
A LED Headlamp bright enough to ski by. If it is rechargeable, make sure it is fully charged before your trip. If it runs on batteries, bring spare batteries taped together in threes with masking tape (the batteries should be kept in an inside jacket pocket/your sleeping bag to stay warm).
A map and compass. Sunglasses and snow goggles. A personal wash kit and towel (for instance the DryLite Towel) and a 40ml bottle containing Trek and Travel Hand Sanitizer. Something to read and maybe a deck of cards for those long evenings/bad weather episodes.
The backcountry is a different world in the winter – stark, challenging, but very beautiful.
As always – if these posts leave any questions unanswered, just ask.
B
